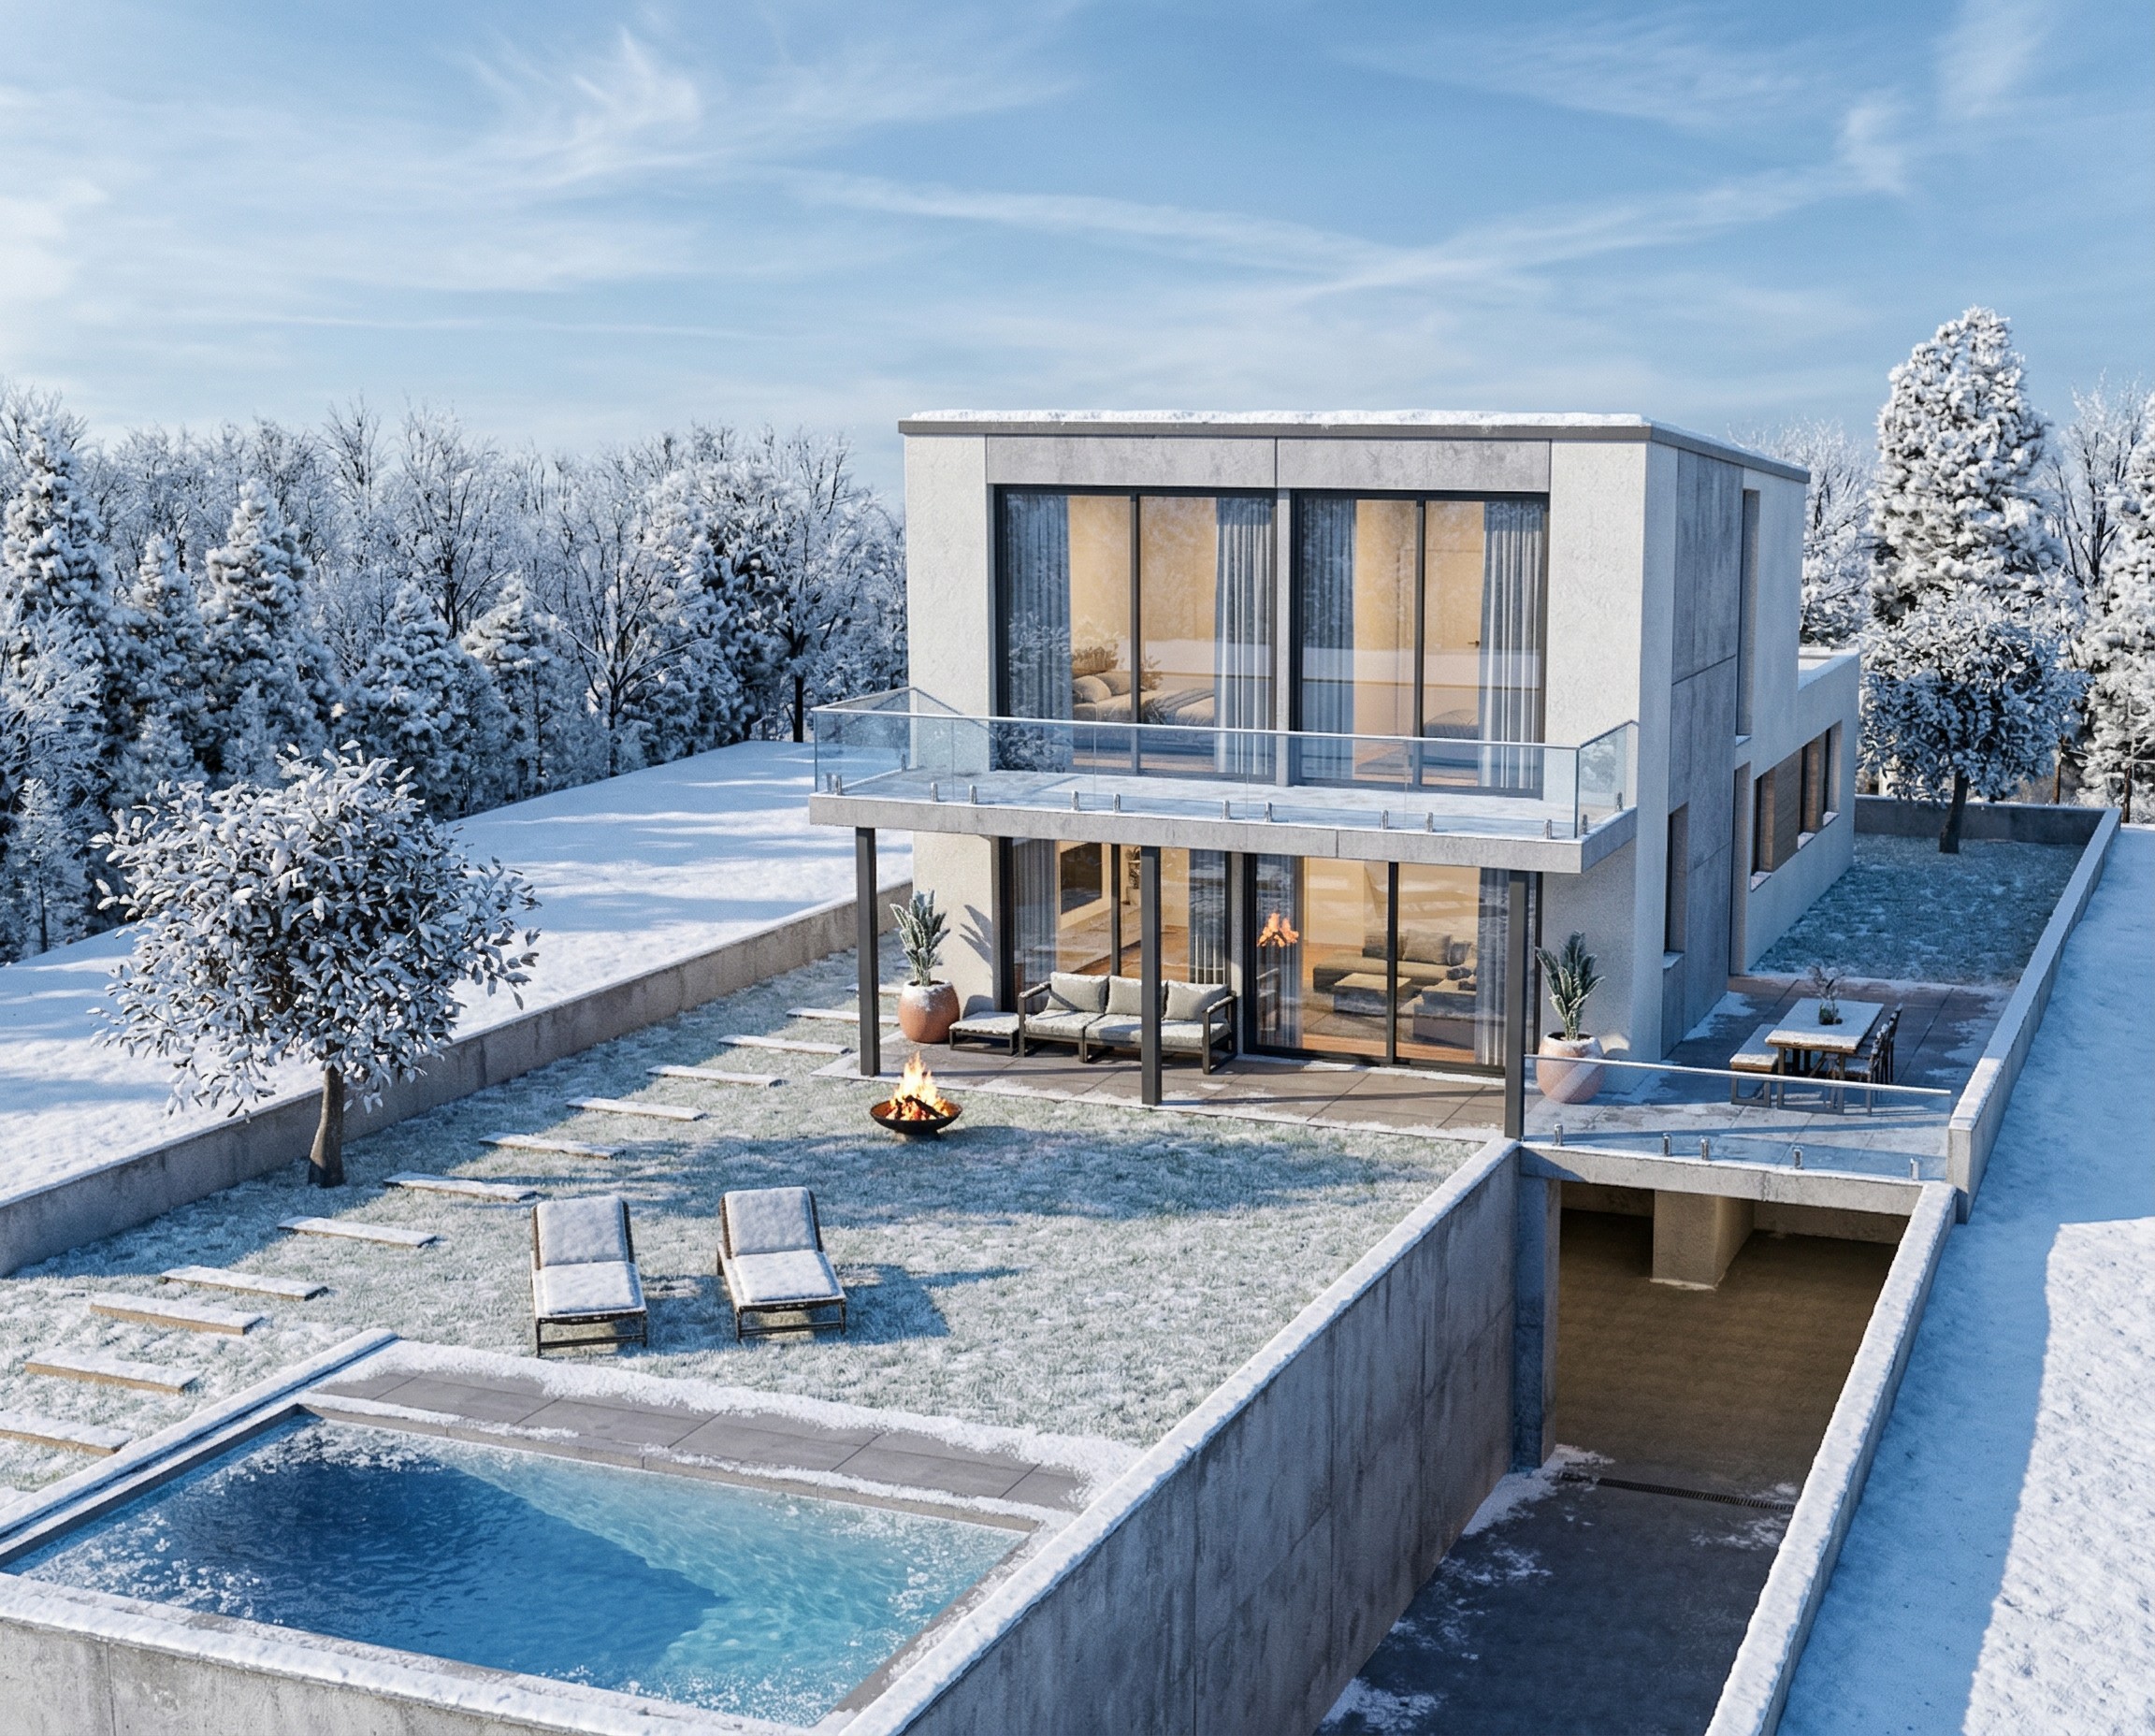
SketchUp to Photorealistic Render: Living Room Example
See a SketchUp-style living room model turned into a photorealistic AI render: a before/after example with 4K output, ready for client approval.
The 3D Model
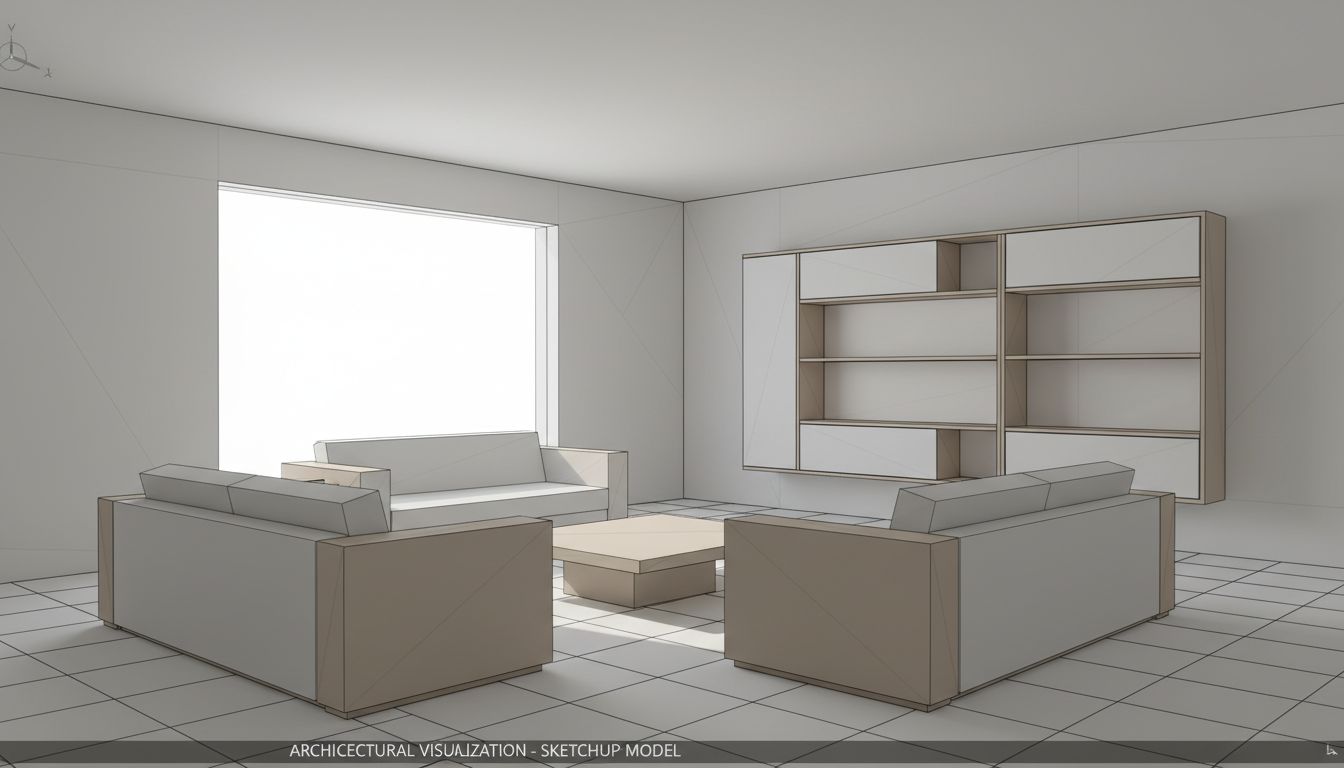
This SketchUp-to-photorealistic render demonstrates how AI visualization can breathe life into a minimalist living room 3D model. The original SketchUp-style scene features a clean, geometric layout: two block-form sofas arranged in an L-configuration around a low coffee table, with a large modular bookshelf unit against the wall and an expansive picture window. The model uses flat gray tones and visible edge lines typical of untextured SketchUp exports, presenting the spatial design clearly but without any material realism.
From Sketch to Photorealism
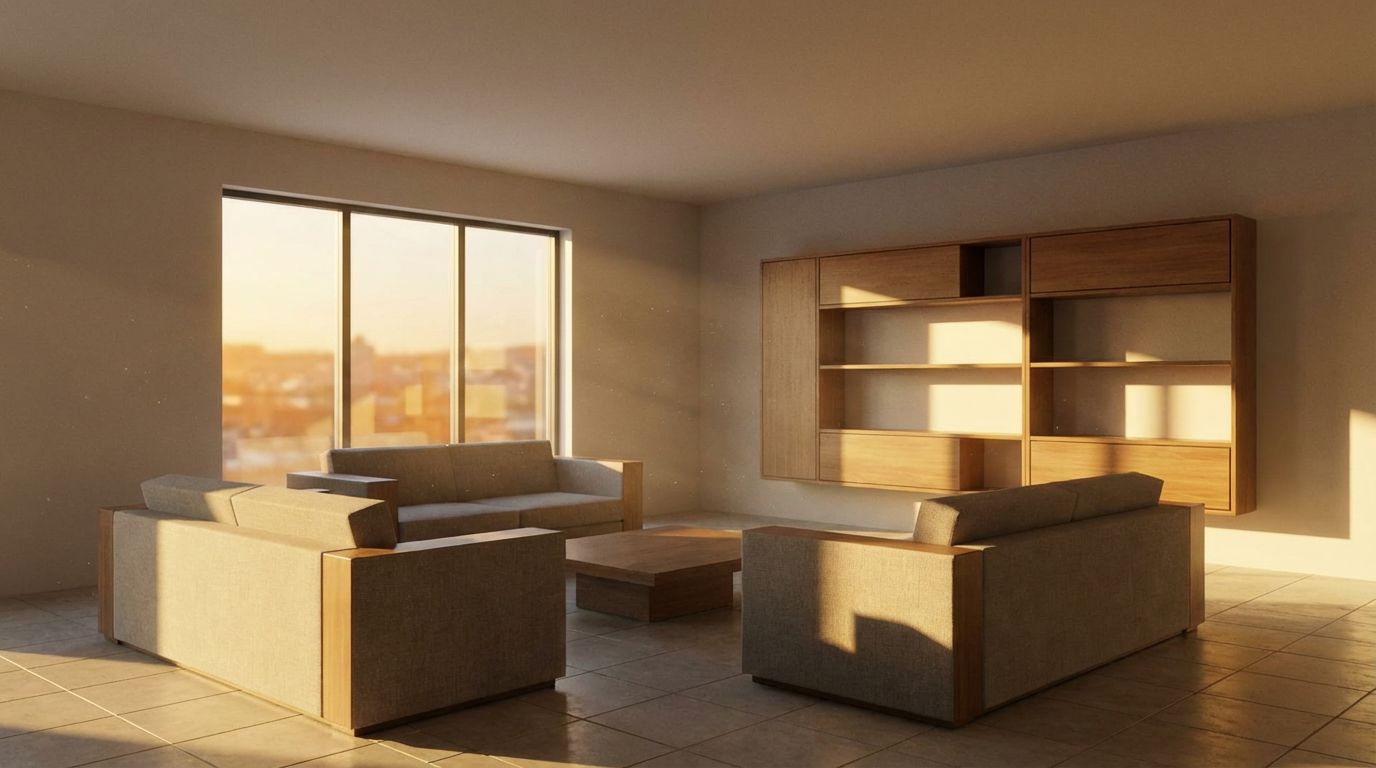
After processing through RoomLab.app's Render mode with afternoon lighting, the transformation is striking. Warm golden sunlight streams through the window at a low angle, casting long, natural shadows across the tile floor. The sofas gain believable linen-like upholstery in neutral beige tones, while the bookshelf reveals rich walnut wood grain with visible tonal variation across each shelf and drawer face. Even the window now shows a warm cityscape view that anchors the scene in a realistic urban context. The afternoon time setting is critical here, producing that characteristic warm color temperature that makes interior renders feel inviting and lived-in.
Tips for Better Renders
For architects and interior designers, this kind of rapid visualization eliminates the hours typically spent configuring V-Ray or Lumion render settings. The AI correctly interprets the geometric intent of each furniture piece, applying appropriate material assignments, contact shadows, ambient occlusion, and global illumination. The result is a presentation-ready image suitable for client mood boards, real estate listings, or design portfolios, all generated from a basic SketchUp screenshot in seconds rather than the minutes or hours traditional rendering engines require.
Inputs Used
Render Settings Used
Ready to Transform Your Space?
How to Recreate This
Transform a basic SketchUp living room model with two sofas, a coffee table, and a bookshelf unit into a warm, photorealistic interior visualization with realistic materials and natural afternoon light.
✨ What You'll Achieve
Original Room
After
Select Mode
Choose the Interior Architectural Render card from the mode grid.
From a 3D model or sketch
 Interior Architectural RenderTurns a 3D model or sketch of a room into a photo.
 Exterior Architectural RenderTurns a 3D model or sketch of a building into a photo.
Upload Your Room
Upload a screenshot of your SketchUp living room model showing the two sofas in L-arrangement, the central coffee table, and the wall-mounted bookshelf unit. Ensure the camera angle captures the full room including the large picture window.
Configure Options
The AI will automatically assign appropriate materials to each element: linen upholstery for the sofas, walnut wood for the bookshelf and table, and ceramic tile for the flooring. The window will receive a contextual exterior view.
Time of Day
Season
Generate
The photorealistic result shows the living room bathed in warm golden afternoon light with realistic fabric textures on the sofas, detailed wood grain on the bookshelf, natural shadow casting, and a cityscape visible through the window.
Your Result
🎯 Try the Result
Drag the slider to compare before and after!
Frequently Asked Questions
Does the AI preserve the exact furniture layout from my SketchUp model?
Yes. RoomLab.app's Render mode maintains the spatial arrangement, proportions, and geometry of your original 3D model. It applies photorealistic materials, lighting, and shadows on top of your existing layout without moving or resizing any objects. The two sofas, coffee table, and bookshelf in this example remain in their exact positions from the SketchUp file.
Why choose afternoon lighting for a living room render?
Afternoon lighting produces warm, directional sunlight that enters at a low angle through windows, creating dramatic shadows and a golden color temperature. This is particularly effective for living rooms because it simulates the most flattering natural light condition, making spaces feel cozy and inviting. It also highlights material textures like wood grain and fabric weave through angled illumination.
Can I render the same SketchUp model with different times of day?
Absolutely. You can upload the same 3D model screenshot multiple times and select different lighting settings each time. Many designers generate morning, afternoon, and evening variants of the same living room to show clients how the space feels throughout the day. Each render costs the same number of credits regardless of the time-of-day setting.
3D to Photorealistic
Explore 3D to Photorealistic Feature
3D Interior to Photorealistic
Read the Interior Architectural Render Tutorial
Perfect For
Related Examples
More Render Examples

AI Interior Render Showcase — From Sketch to Photo
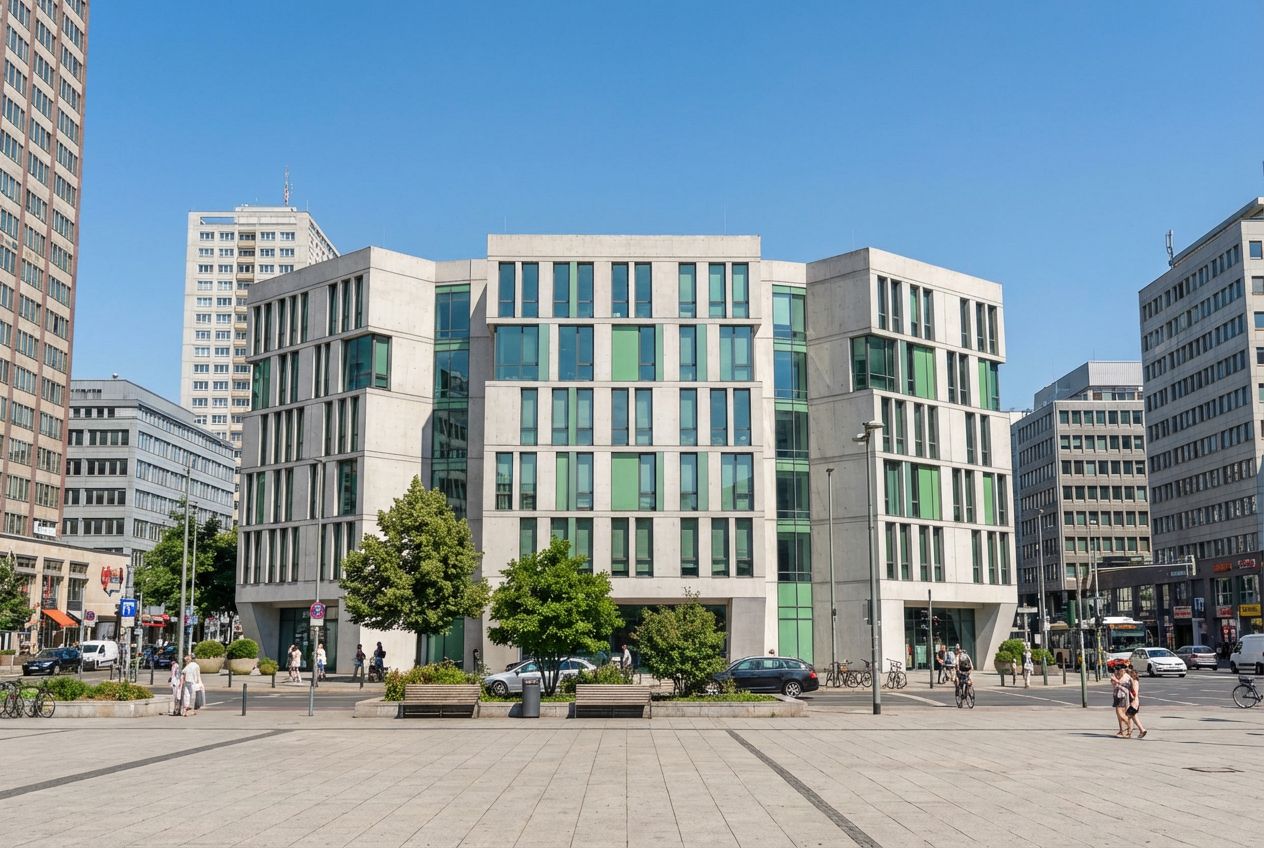
Turn Your Building Model into Marketing Visuals
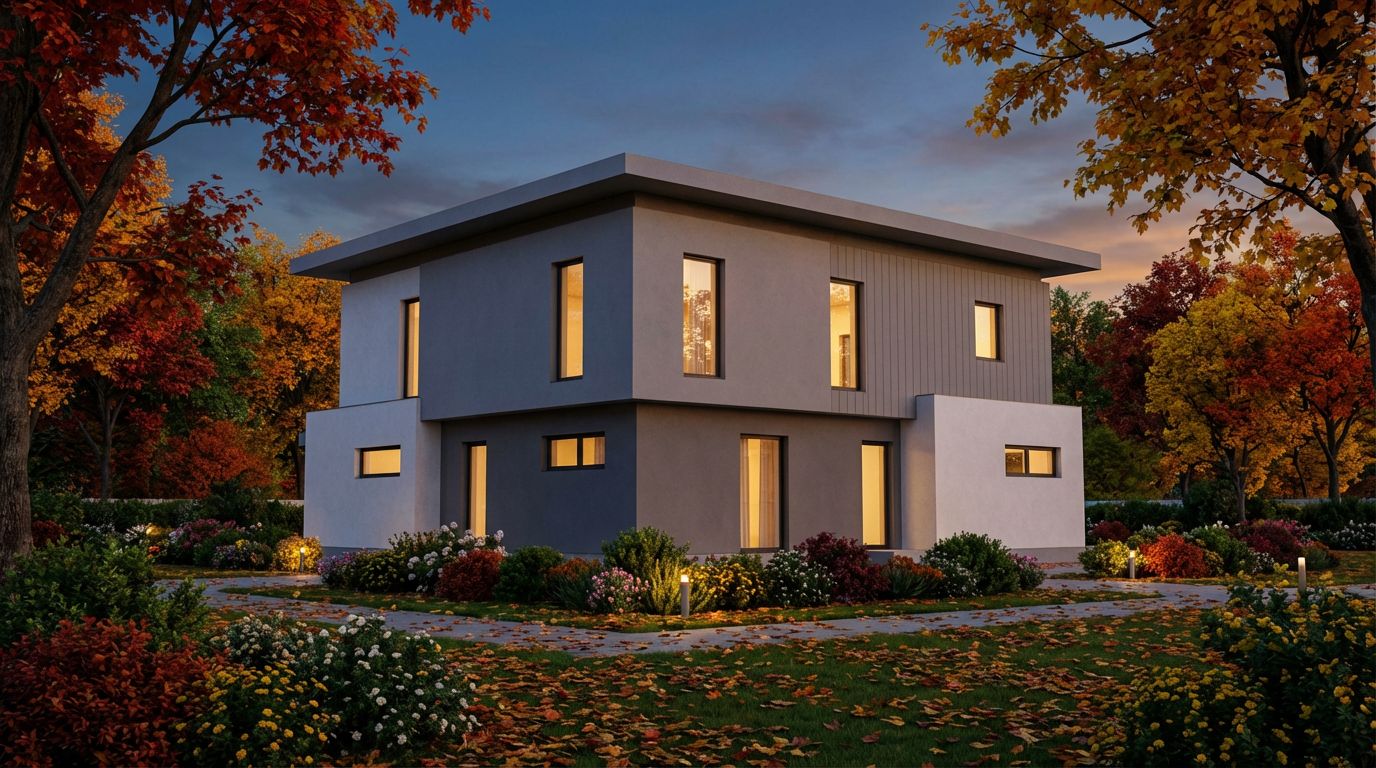
Render Your House Exterior Model Photorealistically
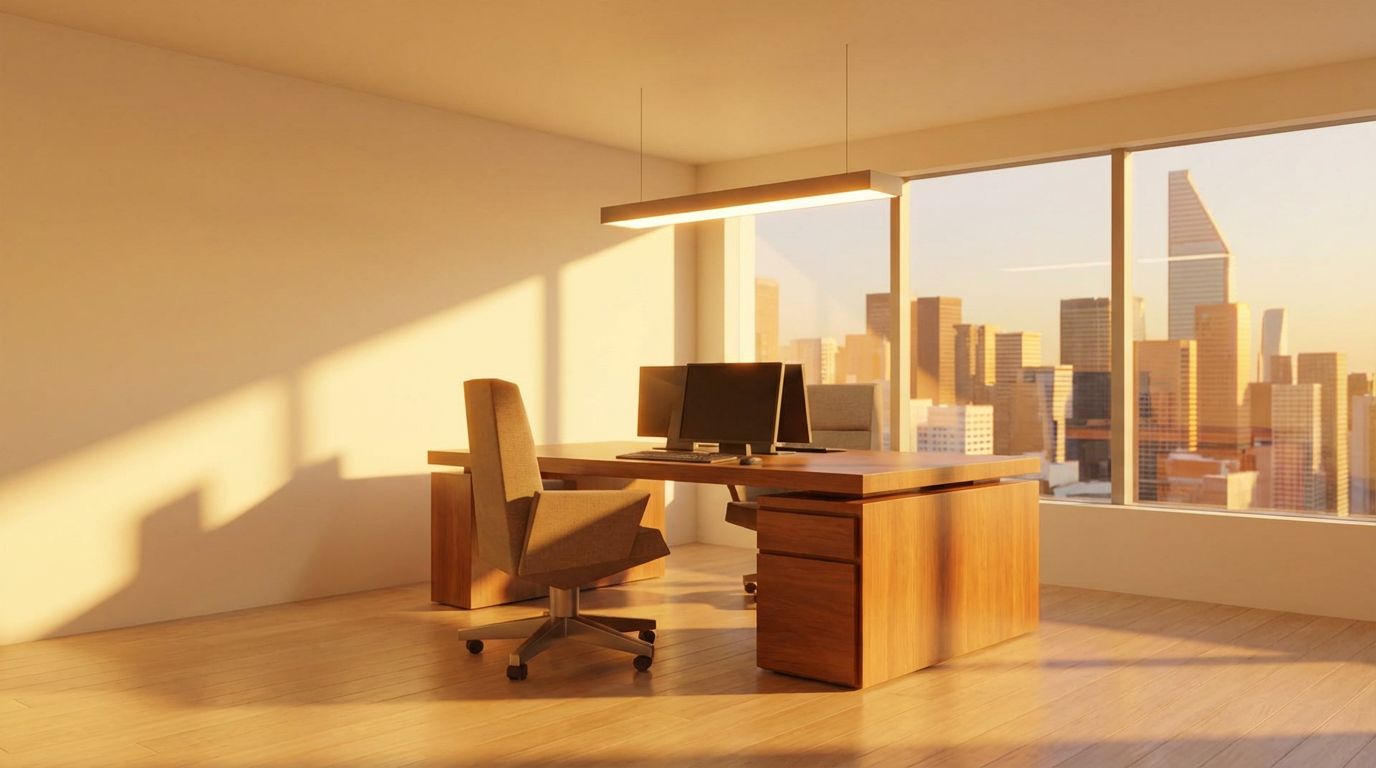
Render Your SketchUp Office as a Real Photo
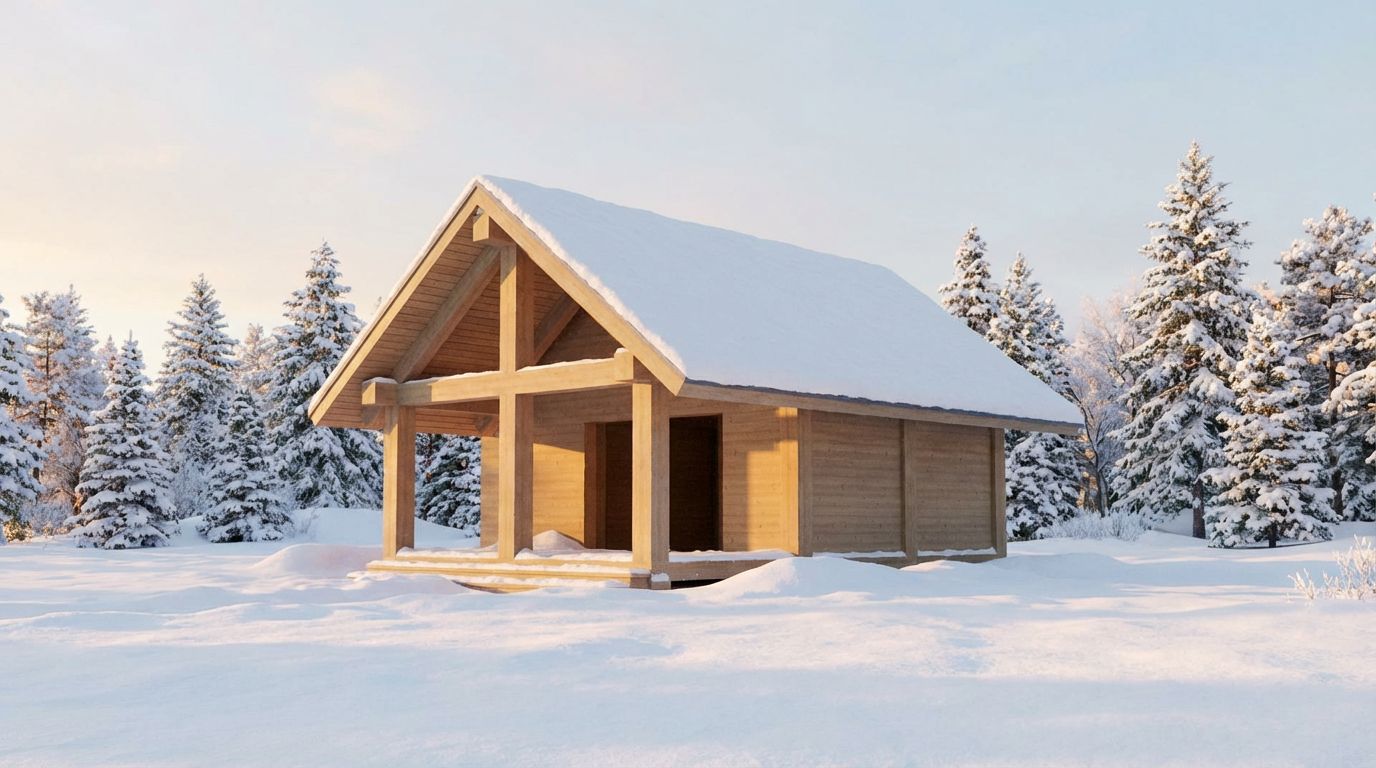
Add Realistic Surroundings to Your Cabin Render